
Sensors are one branch; limits, lock mode and springs are the others.
Door reverses · opener light blinks
Fix garage door sensor problems before anything else
The two small boxes near the floor cause more won't-close calls than any other part, and most of what goes wrong with them you can put right in ten minutes. This page shows how to fix garage door sensor faults in the order they usually happen, and where the job stops being a wipe and an adjustment.
(888) 217-1757The call reaches an independent garage door company in your area to book a visit.
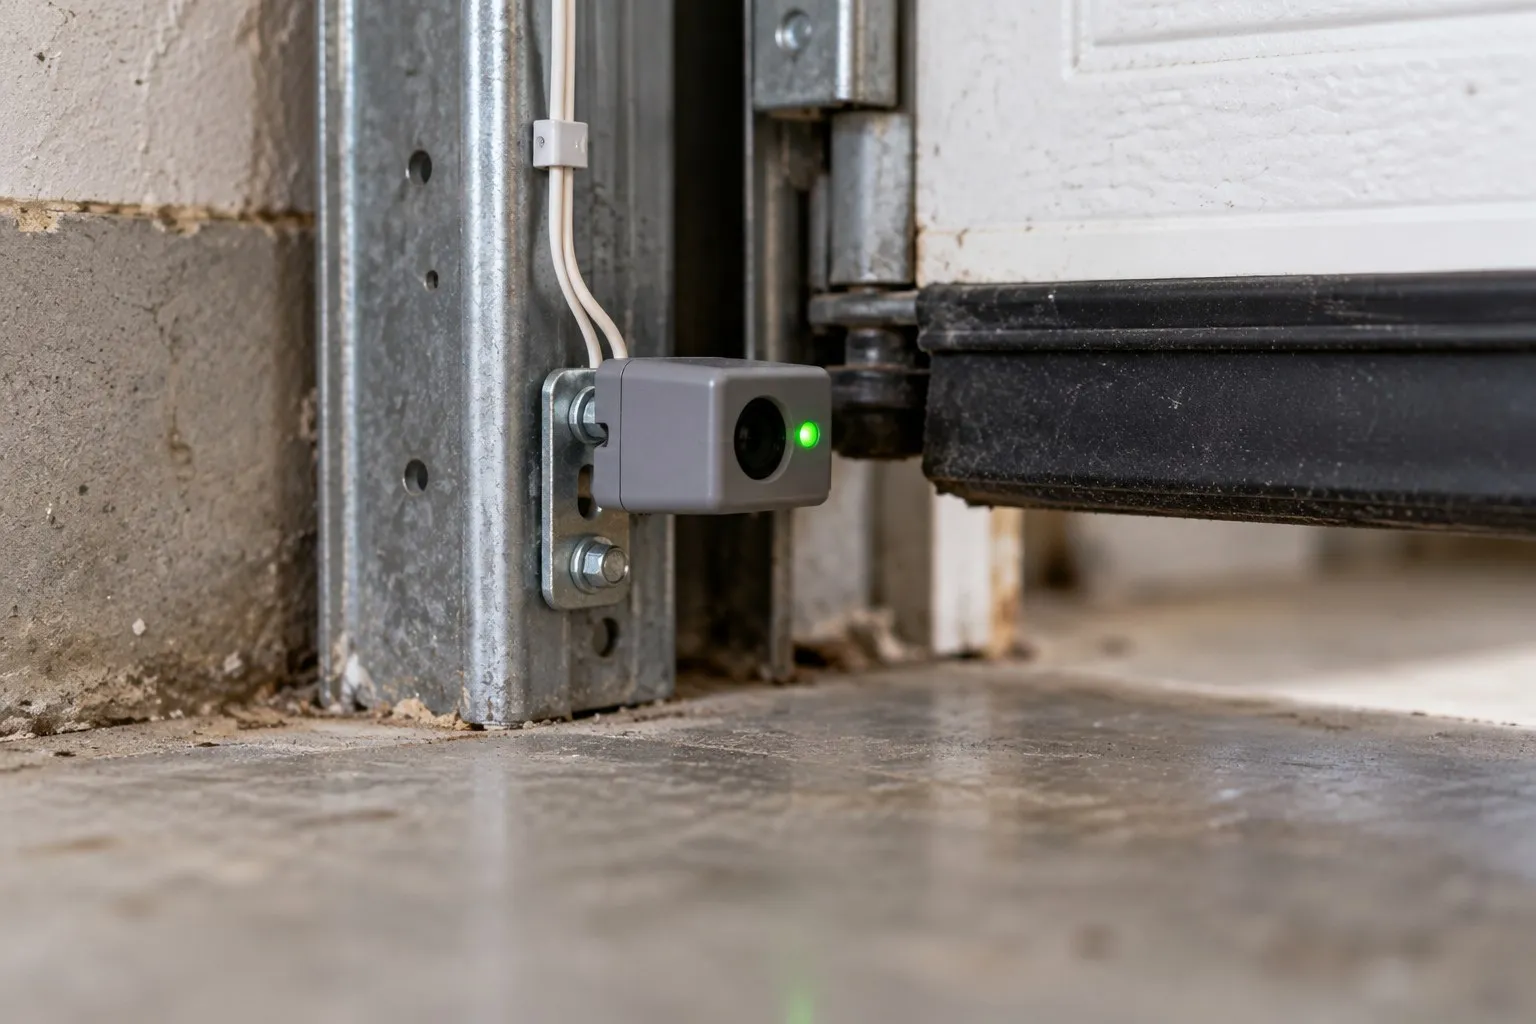
One sensor sends a beam, the other receives it, and the opener watches for the beam on every close. The federal standard for residential openers, 16 CFR 1211, requires the opener to confirm the device is present and working at least once during each close, and if it is missing or faulty, an open door may not close more than a foot below its open position. That rule is why a sensor fault stops a door cold rather than letting it close unguarded.
How to fix garage door sensor faults, in order
- Read the lights. Most sensors carry a small indicator light. On most units a steady light on both means power and alignment are fine; a light that is off or flickering on the receiving side means the beam is not arriving.
- Clear the line. Anything across the opening at sensor height counts: a recycling bin at the edge of the door, a hose, a broom leaning on the track, leaves blown against a lens.
- Clean the lenses. Dust, cobwebs and dried water spots are enough. Wipe with a soft dry cloth; no solvents on plastic lenses.
- Re-aim. Sensors hang on thin brackets that get kicked by feet and bumped by bikes. Loosen the wing nut, turn the sensor until its light goes steady, then tighten while holding it still.
- Shade from the sun. If the fault comes and goes with the time of day, low sun is hitting the receiving lens.
- Follow the wire. Look for staples driven through the low-voltage wire, chewed insulation, or a loose terminal at the back of the opener.
Unplug the opener before touching the terminals, and never tape the sensors together or mount them up by the ceiling to make the fault go away. A beam that cannot see the floor cannot see a child either.
Garage door sensor repair that needs a technician
Some faults are past what a cloth and a wing nut can do. A sensor that stays dark with good wiring has failed. Wire that runs inside finished walls or ceilings and has been cut or pinched somewhere along its run has to be traced and replaced. Sensors from a replacement kit sometimes do not match the opener they are wired to. And a logic board that no longer reads a healthy beam looks exactly like a bad sensor until someone tests the board.
A technician tests the beam, the wire run and the opener input separately, so the part that failed is the one replaced. A written price for garage door sensor repair should say which of those it was.
How to fix garage door sensor alignment after a bump
A kicked bracket is the most common single cause, and it is fixable with the opener still plugged in, since you need the lights to aim by. Bend the bracket back gently if it is only slightly out, set the sensor at the same height as its partner on the other side, and turn it in small steps. When the receiving light goes steady, close the door with the remote and watch it all the way down. Then pass something through the beam while the door is closing; it has to reverse.
If the bracket is cracked or the track it bolts to is bent, the sensor will not hold its aim for long. That usually comes with other damage from the same bump, which the page on a garage door off track covers.
Sensor problems: questions
Can I just remove the sensors?
No. The opener checks for them on every close, and without them a door made to the federal rule will not close normally at all. Removing or bypassing them also removes the thing that stops a closing door from landing on a child or a pet.
Why do the sensors fail only in the afternoon?
Low sun shining straight into the receiving sensor can swamp the beam. The door closes fine in the morning and reverses at four o’clock. Swapping the sensors between sides, so the receiver faces away from the sun, or a small shade over the lens, usually ends it.
How much does garage door sensor repair cost?
Fixr’s January 2025 range for sensor work is $100 to $150. Wiring that has to be run again, or a fault in the opener’s logic board rather than the sensors, costs more.
Related to the sensors
When the board, not the sensors, is the fault.
A new opener comes with its own matched pair.
The full symptom table.
Sources checked for this page. Page last reviewed September 25, 2026.